
Making reusable bags has always been something I enjoy making. The pattern started out being one I bought in 2009 and made several time. I lent the pattern to someone and it was never returned. That was the best thing that ever happened as my bags have evolved from something simple to more complicated over time.
Designing a bag comes from something I dream up or from a picture I see and like. The bag I am going to make in this tutorial is from this picture. I will be making some changes to it as is per usual.

I don't remember where I found the picture. It could have been Pinterest. All I know is that I liked it and there was no link to it; just a picture to admire.
I have studied the picture a lot since I downloaded it and finally decided to make it using this as the focal fabric which I bought in March.

The remaining fabrics are these. The bottom ones come from the stash and the top one I had to buy (on sale).

I am trying something new. Rather than using interfacing, I am going to use Flex Foam. If I like it, I will be using it all the time when I make bags.
Fabric Requirements
20" of the print fabric if you want a longer bag. You can make it shorter.
A strip of fabric 2" in length by the width of the fabric.
A strip of fabric 8" wide by the width of the fabric.
A piece of fabric that is 6" wide by 20" long or the length of your bag.
20" x wof for the back of the bag
Note on my piece of fabric that is 6" wide:
My fabric was not 20" long so I will be adding to it. The seam I make will be hidden under the bottom of the bag.
If you see more than one piece of fabric, I am making 2 bags. Somehow one bag became two. I will make sure to tell you how many pieces you need of each piece.
For this bag, the length will be around 19" in length. If you have enough to make 20" I'd do that as that is my favourite length. I am short of the dog print so must skimp on the length.
Cutting The Handles and Button Loops
Use the piece of fabric that is 8" long by the width of the fabric.
I cut out the handles first. The width is 4" wide so the finished with will be 1" wide. I cut the fabric 4" by the wide of the fabric. Trim off the selvage and cut in half.
I added some very light interfacing to the handles so they have some extra body. You don't need to but over the years I have found it is something I like.
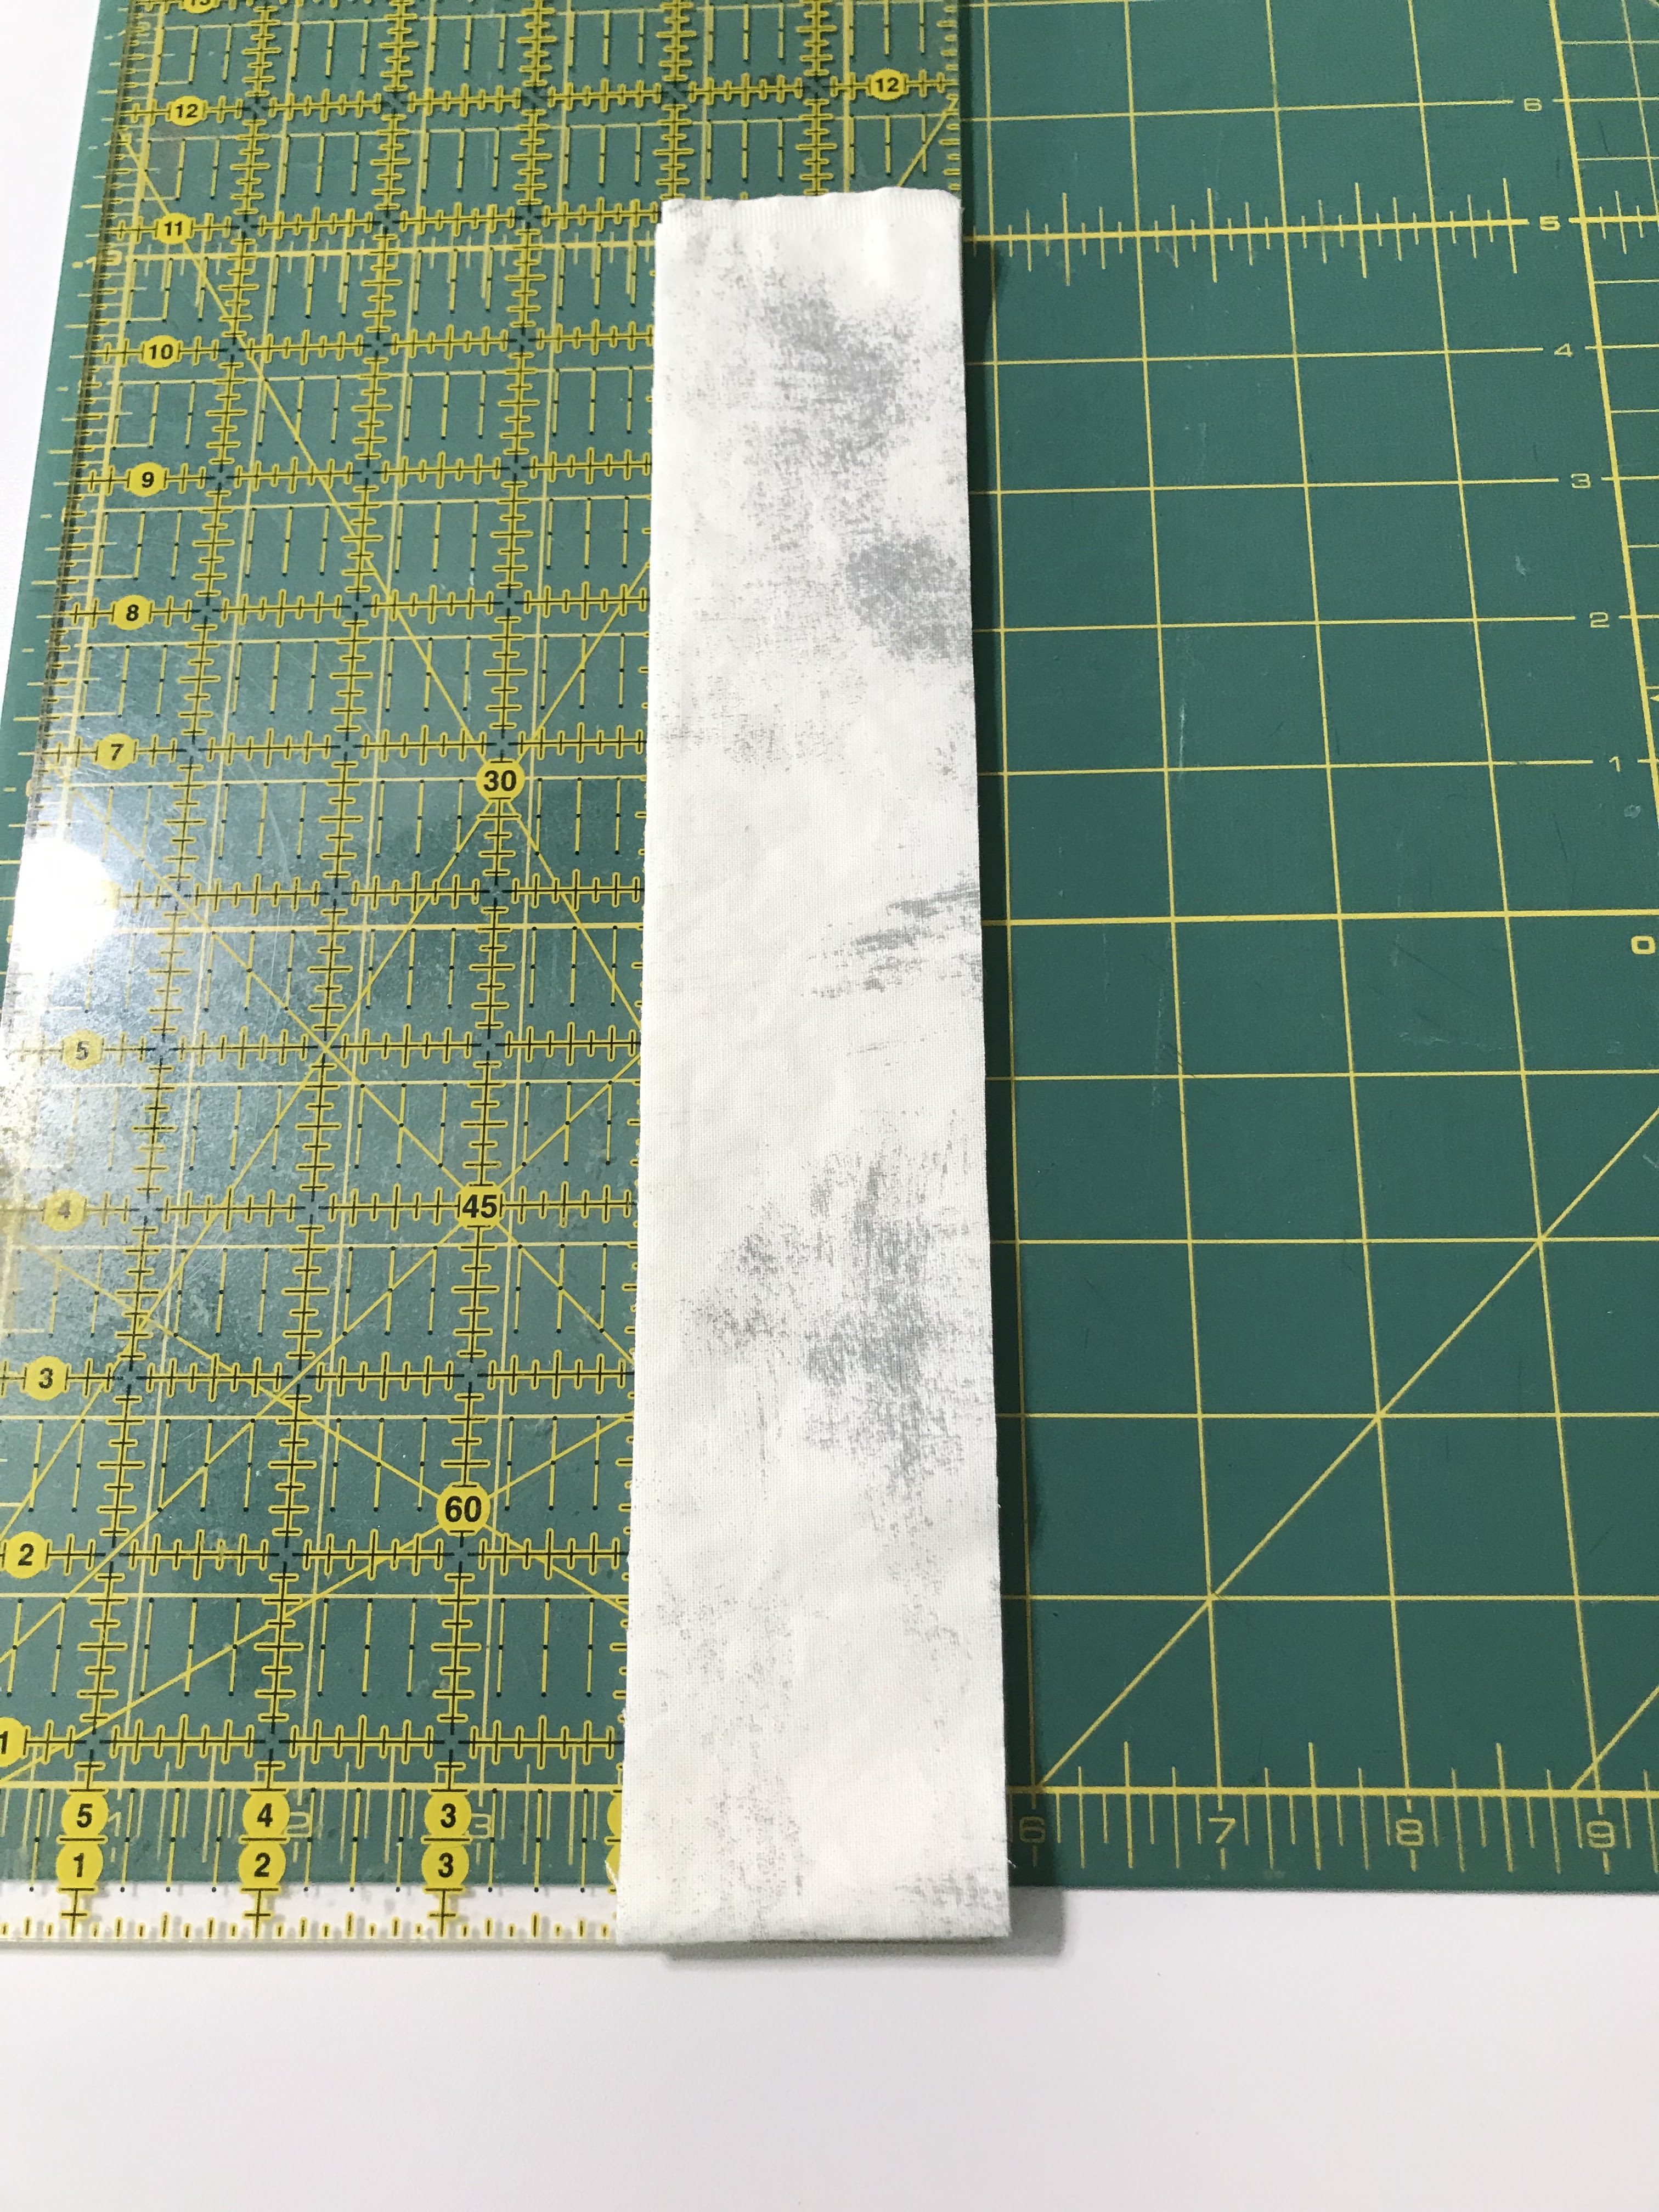
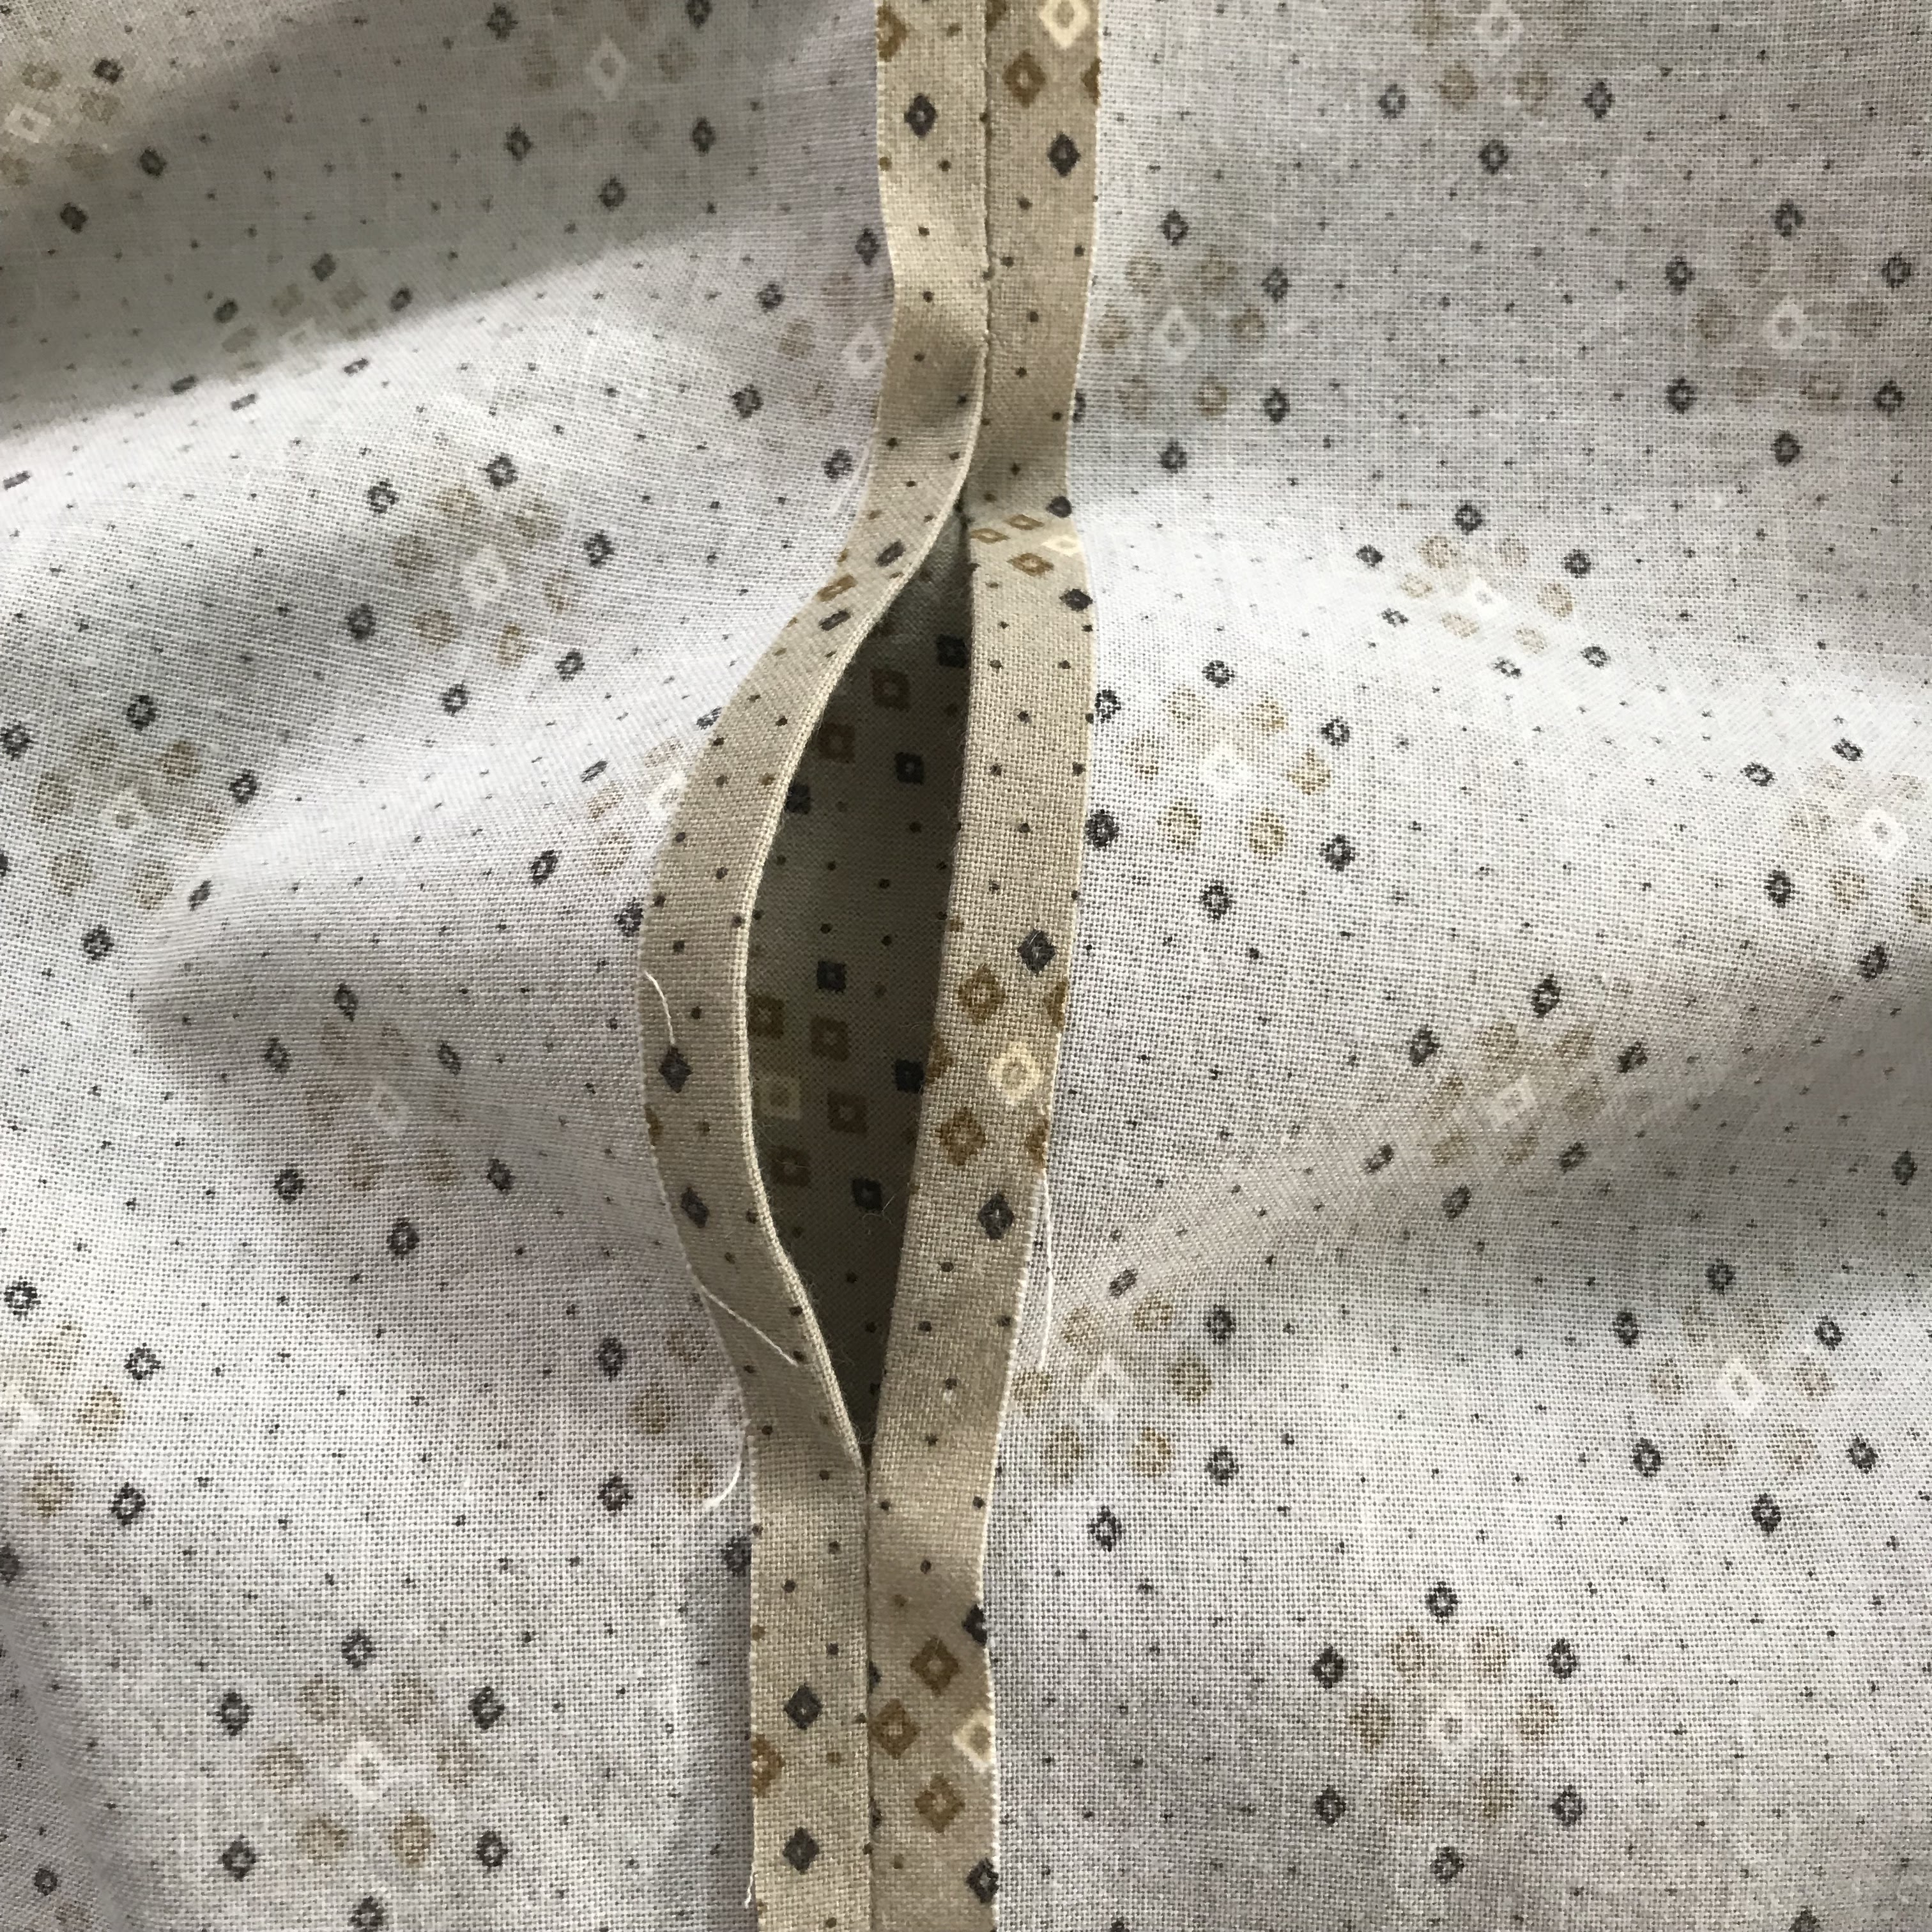
Take the handle fabric and fold it in half so it measures 2" by the length you have (about 20-21"). Press. Then open it up and press the raw edges to the center fold. Press again.

Fold in half to have a handle that is 1" wide by the cut length.

Repeat for the second strap. Set aside as you need to make button loops next.
Repeat the process for the button loops. You will have one more strip that is the same as the handles. Set this strips aside. I have two strips shown which was a mistake on my part.

At this time nothing is sewn.
Note: If you want three button loops on the front of your bag, cut the width narrower -- 3.25" so 1 to 1.25" buttons will stand out.
Cutting the vertical strip
The vertical strip is 2" wide by the width of the fabric. I cut mine and it still needs to be cut in half. I will use half in each bag.
Cutting the smaller panel
The smaller panel is cut 6" wide by the length of your bag. My piece of fabric was not long enough so I cut an extra strip and added it to the piece. My extra piece measured 6 x 6" square and I will trim it to the right length. I am not worrying about it as the seam will be on the bottom of the bag.

Main piece of the bag front
I cut the main piece of the bag 7.5" wide by 19" long. Set it aside.
Sewing the handles and button loop
I top stitched the handles and button loop strips close to each side (about 1/8") using my zipper foot but you can use your regular foot if you want to. I set the handles aside and focused on the button loop.
Cut the remaining strip to measure 14" in length. Fold in half.


Sewing the Front of the Bag
My first job was to sew the darker pieces together to get the length I needed. I sewed a 3/8" seam and pressed it open. With the sewn part at the bottom, I sewed the light piece to the right hand side of it using a 1/4" seam allowance. I pressed it to the dark side.
I started my design process of the button loops at this time. I laid a ruler at the bottom so it measured 3 3/8" up. This allowed me to know what the body of the bag would be.
Next up I got out the buttons.
1" buttons were too small for the loops I had made.
1 1/2" buttons that I could cover were better
2" buttons I could cover made a statement.

Button Loop Placement
I tucked the loop under the main fabric down 6.5" from the top. The loop sticks out 5.5" to the left.

I carefully pinned it so the point was 6.5" down and then laid the printed fabric on the top. I pinned it in place and sewed it with a 1/4" seam. Trim off the excess legs of the button loop. Press the seam towards the print fabric so the loop is lying to the left. At this time the fronts are done.

Bag Backs
The bag backs are cut from the dog print and are 19.25" long by 20 1/8" wide. I can get 2 backs from the width of the fabric. I cut the flex foam to be bigger than the back piece and laid the fabric on top of it. I pinned around the edges and stitched the two pieces together 1/8th inch from the edge.
Next up, I drew vertical lines on the fabric starting in the center and 2" apart. I quilted them using a thread that blended in with the fabric.


Trim the excess foam from the back and front pieces. At this time I laid the front and back end to end to make sure they were the same size and they were.
Handles
Take one of the handles and lay it on the top back of the bag. I used the quilting lines to line up the handles. They are 2" from the center.

The handles are on the outside of the 2" mark. With the front butted up evenly to the back, mark where the handles will go. Repeat the process for the front.

Stitch down about 1/4" from the raw edge.
Sewing the Bag
It is now time to sew the bag together. With the right sides together, pin the bottom of the bag together. Stitch with a 3/8" seam using a regular stitch length. Press this seam open.

Pin one side of the bag together and stitch from top to bottom. I stop stitching at the bottom seam line and back stitch.

Boxing the Bottom of the Bag
This is the hardest part of the bag as you have to deal with the fabric and the foam. Take your time.
Line up the bottom and the side of the bag so you have a point and a triangle shape.


I fiddles around to make sure everything was flat before I drew a line 3" down from the top (where the stitch line is).

I then used the bamboo pointer and on the inside of the bag, I smoothed the fabric along the sides of the triangle. On the wrong side, I started to pinch the sides of the triangle feeling to make sure the fabric was smooth. I used clips to old the pieces together so they wouldn't shift when sewing.

I took my time making sure there wasn't going to be a fold in the outer fabric. I stitched along the line I had drawn, turned it right side out and checked. All was good. I cut the point off leaving a 3/8" seam.

I repeated for the other side and when done, I relaxed. This was a very difficult step for me. I turned the bag right side out, press the seam and then pressed a line 3" down from the bottom seam. I pinch the corners of the last seams I had sewn and then lay the bag on the ironing board. I use a ruler to make sure I have 3" on each side for the base of the bag.


The Lining
I cut my lining to match the bag size. Mine is 18.75" long and 20 1/8" wide.
The lining is done the same way as the bag but without interfacing or piecing. Sew the bottom of the bag first and then the first side. Leave a 4" opening on that side.
Do the last seam without an opening.
Repeat the process for boxing the bottom of the lining.


Not bad so I just trimmed 1/4" off and made sure the side seams were sewn with a good back stitching. You can also trim the seam 3/8".
Sewing the Lining Into the Bag
Put the bag into the lining so right sides are together. Pin the side seams so they are matching. I pull the bag taught holding the side seams and pin at approximately the center and then pin out towards the side seams on both side of the bag.


When done the top, you then have to bring the outer bag through the hole in the lining.

I start with the bottom corner and then work top and bottom slowly bringing it right side out.

Press that seam well and put the lining inside the bag. I work the lining down into the corners so it is straight before I pin the top in place. There will be some wrinkles as the lining is floppy compared to the bag.
With the top pinned down, I slowly top stitch around the top of the bag (1/4" down with a 3.0 stitch length).

Pull the lining out so you can sew the opening shut. I pin the two edges together and ladder stitch it together.

Signature Button
If you want to, you can sew a 2" button onto the bag and call it done. I always do a signature button on mine.
I cut out a paper circle about 1" bigger than the button. Fold into 4ths and then unfold. I pin it on the fabric so the part I want on the button is center in the circle (basically though you can fudge some. Cut out the circle and do a hand sewn running stitch around the outer edge.


Using your fingernail, make sure there are no puckers showing on the right side. I then tie off the thread (hard to do but be persistent and put on the back. It snaps into place easily. The button is done and ready to be sewn onto the bag.

I do a bit more pressing and the bag is done.

No comments:
Post a Comment