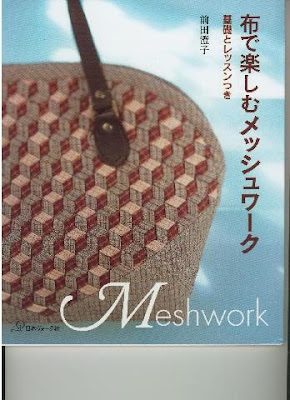
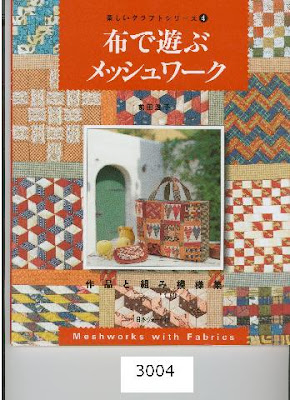
Before I embarked on this craft, I bought a book titled Meshwork. It is written in Japanese but has the best illustrated instructions around. The only thing it really lacks is the size of the fabric strips needed to construct the meshwork. I looked at another book titled Meshwork for Fabrics and bought it today. It is an excellant book and I feel that between the two of them, I am set to do meshwork for a long time.
The first book I bought:

The second book I bought:

There is a couple of ways to set up your work space. One is to use your ironing board and the other is to use a ceiling tile or some sort of board you can stick pins into. I found a 12x16" macrame board at home. I covered the board with aluminum foil to water proof. Then I added two layers of warm and natural batting to the board and taped it down on the back. Lastly I put on two layers of muslin and pinned it down on the back. I will cover the back with a piece of cardboard and staple it down when I get home.
Onto the muslin I drew a 1" grid to cover the work surface. I drew in 45, 30, and 60 degree lines but am not sure if I will ever use them. I will have to wait and see.
I decided my first project would be a simple over under weave. I chose to use 9 mm bias strip maker - the purple one to be exact:

I cut my strips of fabric 3/4" wide by the width of the fabric (in my case it was 21" wide). I put them into the bias strip maker and added 5mm piece of fusible interfacing on the top which I ironed down with a mini iron. I did three colours - light, medium, and dark. All the fabrics had a tiny print on them. For the first even weave project, I cut twice as many light strips as medium and dark.
Now I was ready to begin. I laid down a piece of interfacing with the rough (iron on side) up. I drew a line around the edge about 1/2' from the outside edge. I took my light strips (or tubes) and laid them with the fused strip face down from the center out to each side cutting the strips off at the right length. They were pinned into place. I then took the medium colour and attached it to the wide bodkin and did the under, over, under, over weaving pattern. I pushed it to the top. Then I did the medium colour the same way. I repeated that all the way down, pushing up the rows as tight as I could.
When done, I ironed the fabric down to the interfacing and then carefully lifted it up after removing the pins. I went to the ironing board, fliped the piece upside down, spritzed it with water and pressed it to adhere the pellon to the fabric. The piece was sewn 1/8" inside the marked lines and then the excess fabric was cut off on the marked line.

Basic Over 1, Under 1 Weave using 3 colours (dark, medium, light)
A link to a site that explains how to make a bag using this method. This person used 12mm or 1/2" wide strips of bias to use, she had a bit of a different look. She also fused the tubes to a piece of fabric and I wonder if that was for stability. Anyways enjoy looking at this website and I will get pictures up as soon as possible. I am going to be doing tri-axle weaving next week.
Lazy Girl Designs

Ann, Can you please tell me where you bought the "Meshworks with Fabrics" book. I cannot find it anywhere in the UK. Thankso
ReplyDeleteI bought it from a lady named Esra Coskun. Her email address is eccoskun@gmail.com and I am sure that she lives in the USA.
ReplyDeleteThis one is out of Japan on Ebay
http://cgi.ebay.ca/Pattern-BOOK-af18-Handmade-Meshworks-fabrics-RARE-/120609373222?pt=LH_DefaultDomain_0
Hope this helps as these books are hard to find. The first book I ever saw on this (the one you want) was bought by a lady who had vacationed in Australia.
This comment has been removed by a blog administrator.
ReplyDelete